1
Select a conversion
Inside the admin panel, go to the Conversions page and select the conversion you want to export as an event to your Facebook pixel.
2
Add export
In the conversion menu, click Add Export.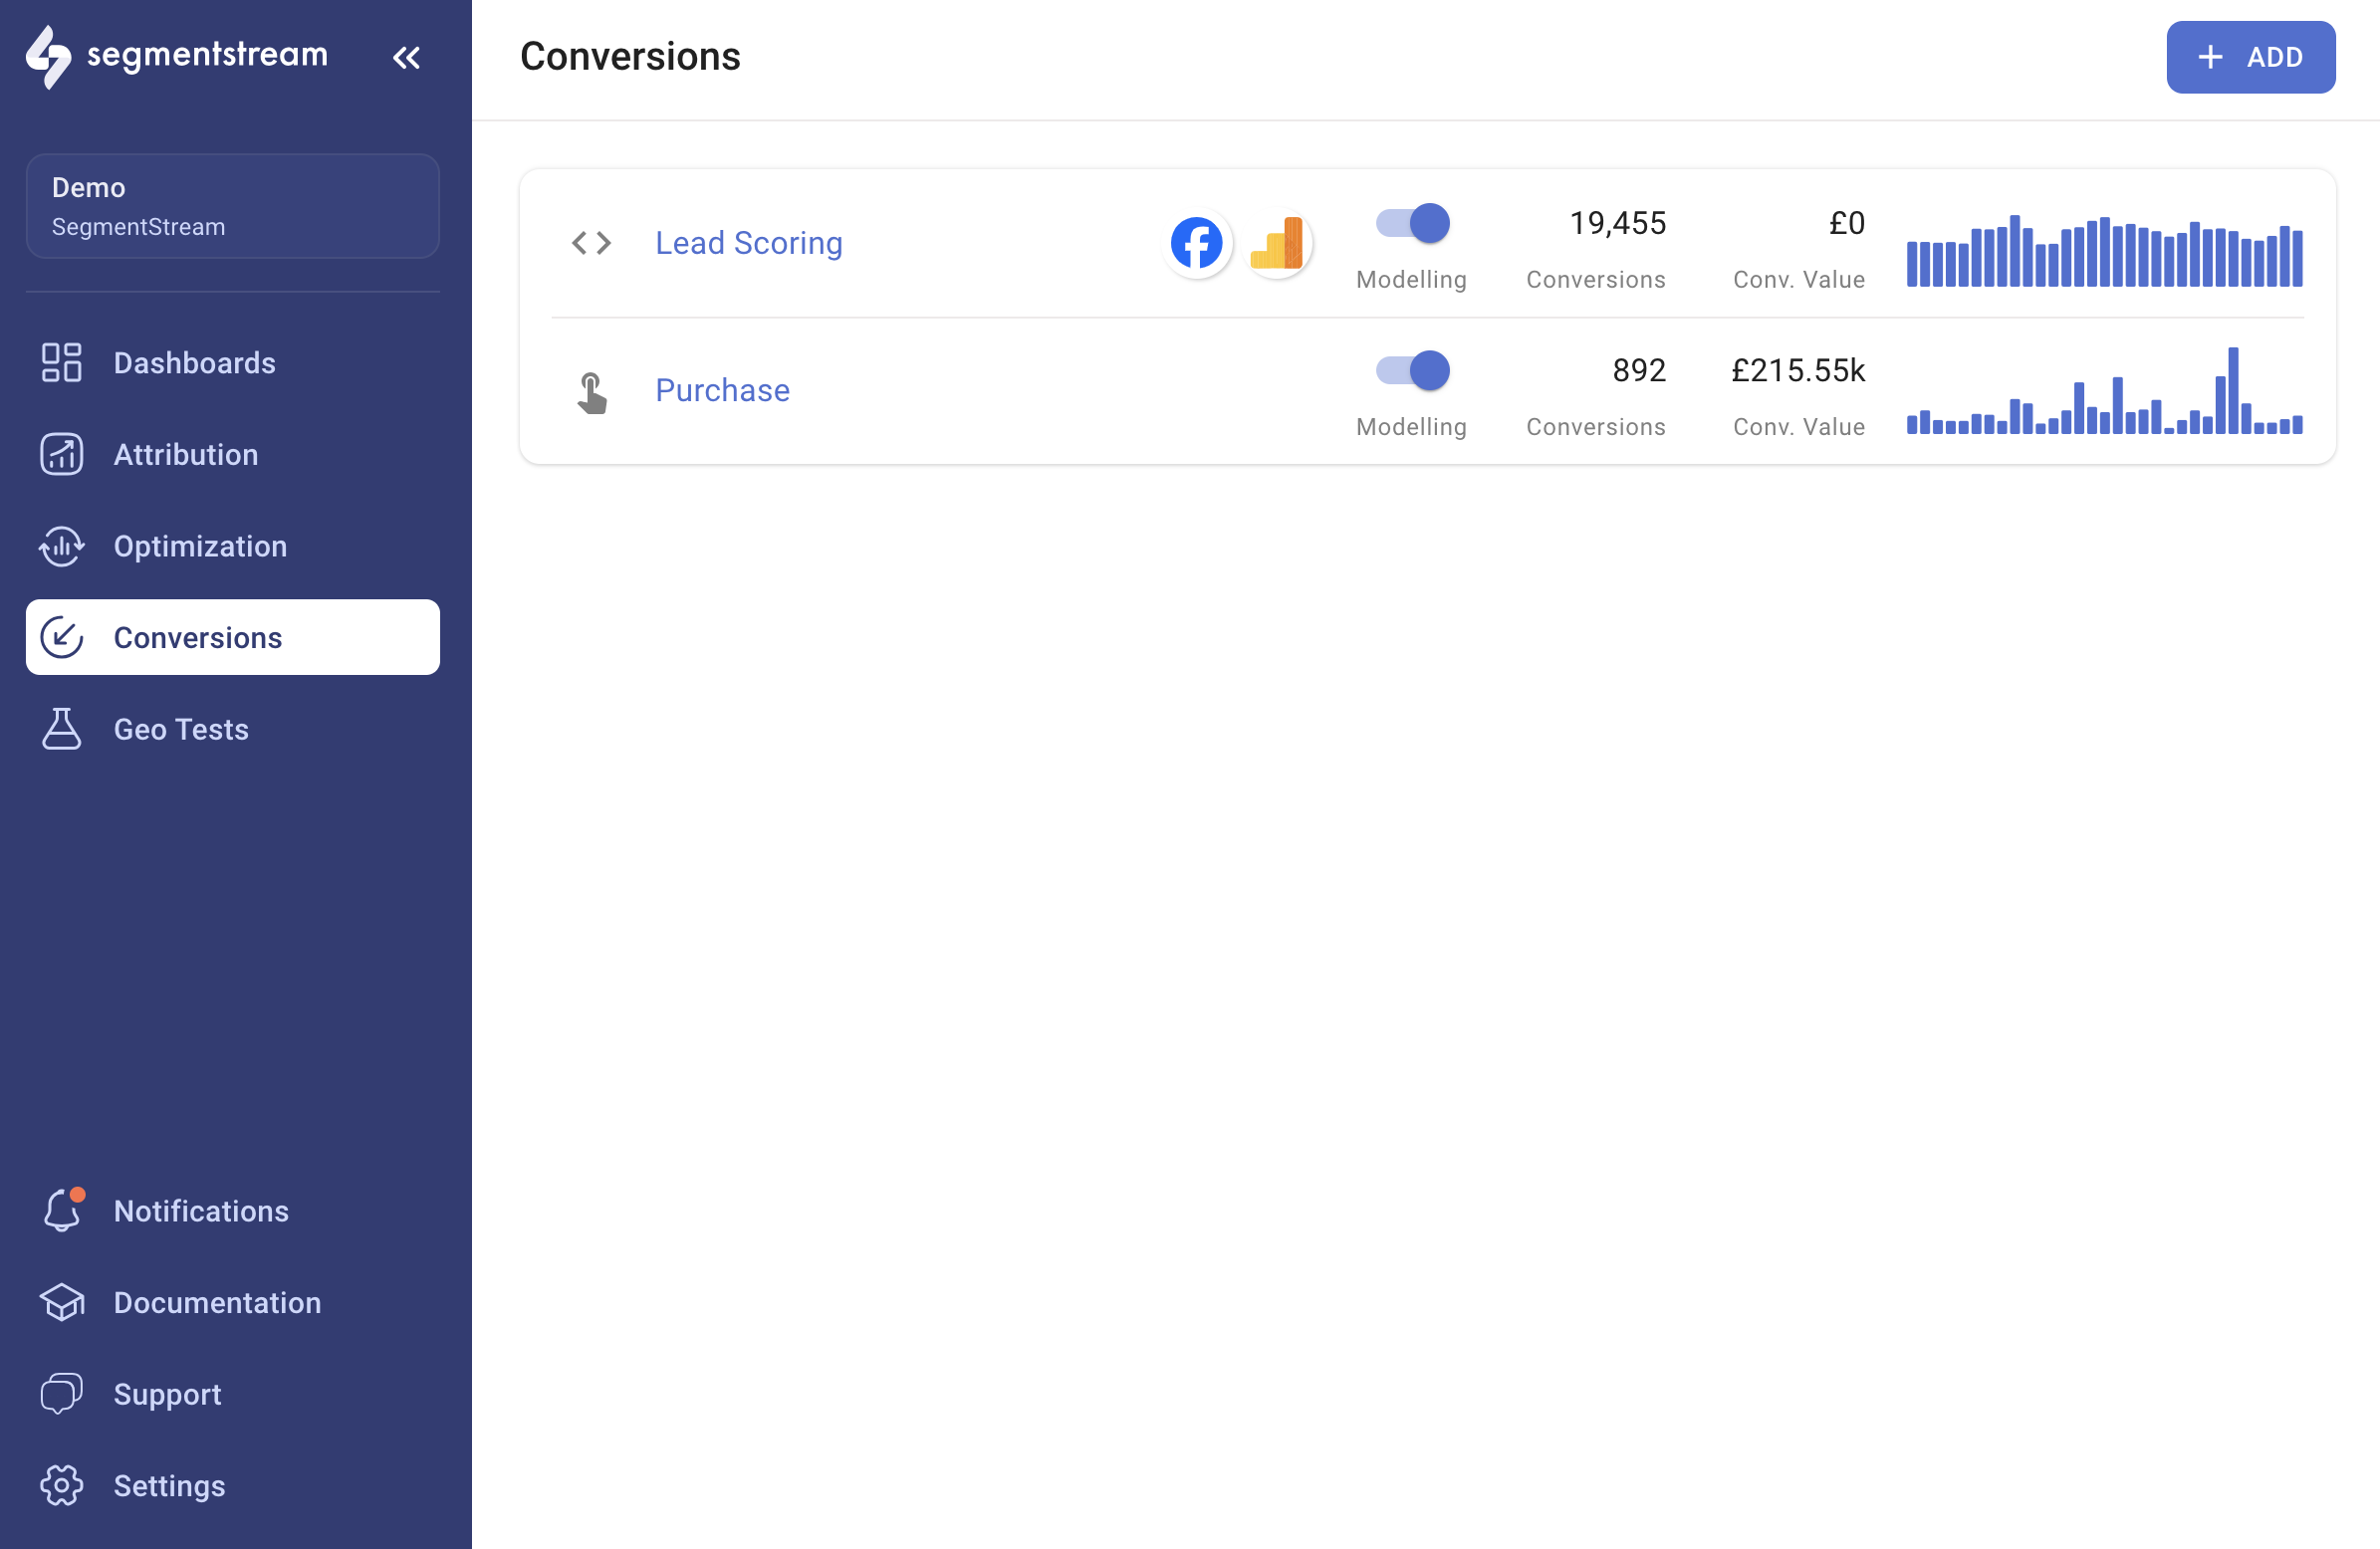
3
Authenticate with Facebook
Select Facebook in the window that opens and go through the authentication flow.
4
Configure export settings
After the authentication flow, you should see the Facebook export settings.
- Enter your Pixel ID (which can be found inside the Facebook Events Manager).
- Fill in the Event name for each conversion. We recommend keeping the event name the same as your conversion name within SegmentStream.
- Choose whether to enable Enhanced Tracking, which exports additional user data such as email, name, and other details if available in the conversion data.
- Choose whether to enable Retrospective Updates, which allows exporting conversions retroactively within the set lookback window. This is useful when conversions are exported from your CRM, particularly when conversions are validated several days after they occur.
5
Save
Click Save. Conversions will be automatically exported to Facebook daily after data processing for the previous day is completed.
It might take up to 1 hour before you see the first batch of events from SegmentStream.
Cookies custom fields setup
By default, Google Analytics 4 does not collect data about first-party cookies like_fbp. This cookie is required to send additional data through server-side conversion tracking.
- Using GTM
- Using gtag.js
1
Create a cookie variable
Inside your Google Tag Manager, go to Variables, click New, and choose the 1st Party Cookie variable type from the list.
2
Configure the variable
Name your variable
fbp, enter _fbp in the Cookie Name field, and click Save.3
Add to your Google Tag
Open your Google Tag, click Add parameter in the Event Parameter field, and enter the parameter
fbp with the value {{fbp}}.4
Publish
Click Save and Publish the container.